Oneclick3d currently owns and operates 6 Creatbot printers with more to come!
As we start our journey, it is best to always know the basic steps to remember when 3d printing.
preparing the machine
For starters we recommend you download a model from Thingiverse. After which you can slice them using the Creatware software or we recommend using Cura. Our tutorial using the Cura software is coming soon so look forward to that!
When slicing your model do keep in mind your filament type due to having to adjust the temperature.
3d printing steps
Levelling the machine
1. Turn on the machine
2. On the touch screen, choose “Move axis” -> “All home”, make the nozzle
close to the platform.
3. Move the extruder by hand to 4 corners and focus on the distance 0.2mm between the
nozzle and platform.
4. If the height varies, rotate the knob under the bed to correct the
distance.
5. All the leveling nuts should be uniform and that the nozzle can’t too close to the platform.
6. Make any adjustments along the way to best suit the print.
Applying adhesive
Add masking tape to the bed if needed and glue. We recommend the Uhu glue stick. For the application procedure, you can find more details here.
Start printing
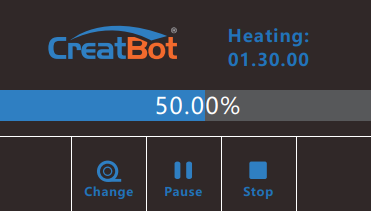
Click the USB button and select your file name to start printing. Once your printing has started your screen will look something similar to this.

To adjust temperatures, speed, and flow click on the top half of the screen and you will be directed to a page like this. Click on the nozzle or bed to adjust the temperature accordingly.
Monitoring
To avoid a massive print fail which results in a large waste of filament, it would be wise to constantly monitor your print.
Finishing
There are many ways of cleaning up your prints. Either by sanding or filing. You can find more information here!
Hi, this is a comment.
To get started with moderating, editing, and deleting comments, please visit the Comments screen in the dashboard.
Commenter avatars come from Gravatar.